

I Needled My Own Face. Here's What Happened.
This post has been sitting in the back of my mind since the moment I decided to add microneedling to the Curam menu. Before I could ever put a microneedling pen to anyone else's skin, I had to put it to mine…and I documented the whole thing.
First — what even IS microneedling?
Microneedling is a skin treatment that uses a device (the “pen”) with tiny needles to create controlled micro-injuries in the skin.
Microneeling Pen
Those micro-channels trigger an inflammatory response — controlled inflammation, the kind your skin knows how to handle. Your body reads those tiny injuries as a repair signal and dispatches fibroblasts, the cells responsible for producing collagen and elastin. Over the following weeks, that collagen matures — and that's when the skin starts to actually look and feel like itself again. That's the remodeling phase, and it's where the real results live.
Meanwhile, your skin releases growth factors — proteins that regulate cell turnover, improve circulation, and support tissue repair. As I mentioned in the video, the serum is doing two things at once — easing the needle across the skin and driving product deep through those open channels at a depth topical application alone can't reach.
The result builds. Smoother texture, more even tone, firmer skin — none of that happens in a single session, but the process starts the moment the pen does.
Why I decided to do it on myself first
I went into this with two very specific skin concerns: texture and hyperpigmentation. Both have been bothering me for a while. I'd been researching microneedling for months, got licensed, invested in the equipment — and still, the first thing I wanted to do was feel it myself before I ever offered it to a single client.
That felt important to me. Not just as an esthetician, but as someone who genuinely cares about what I'm putting my name behind.
So. I set up my phone, hit record, and got to work.
What I used — my session 1 protocol
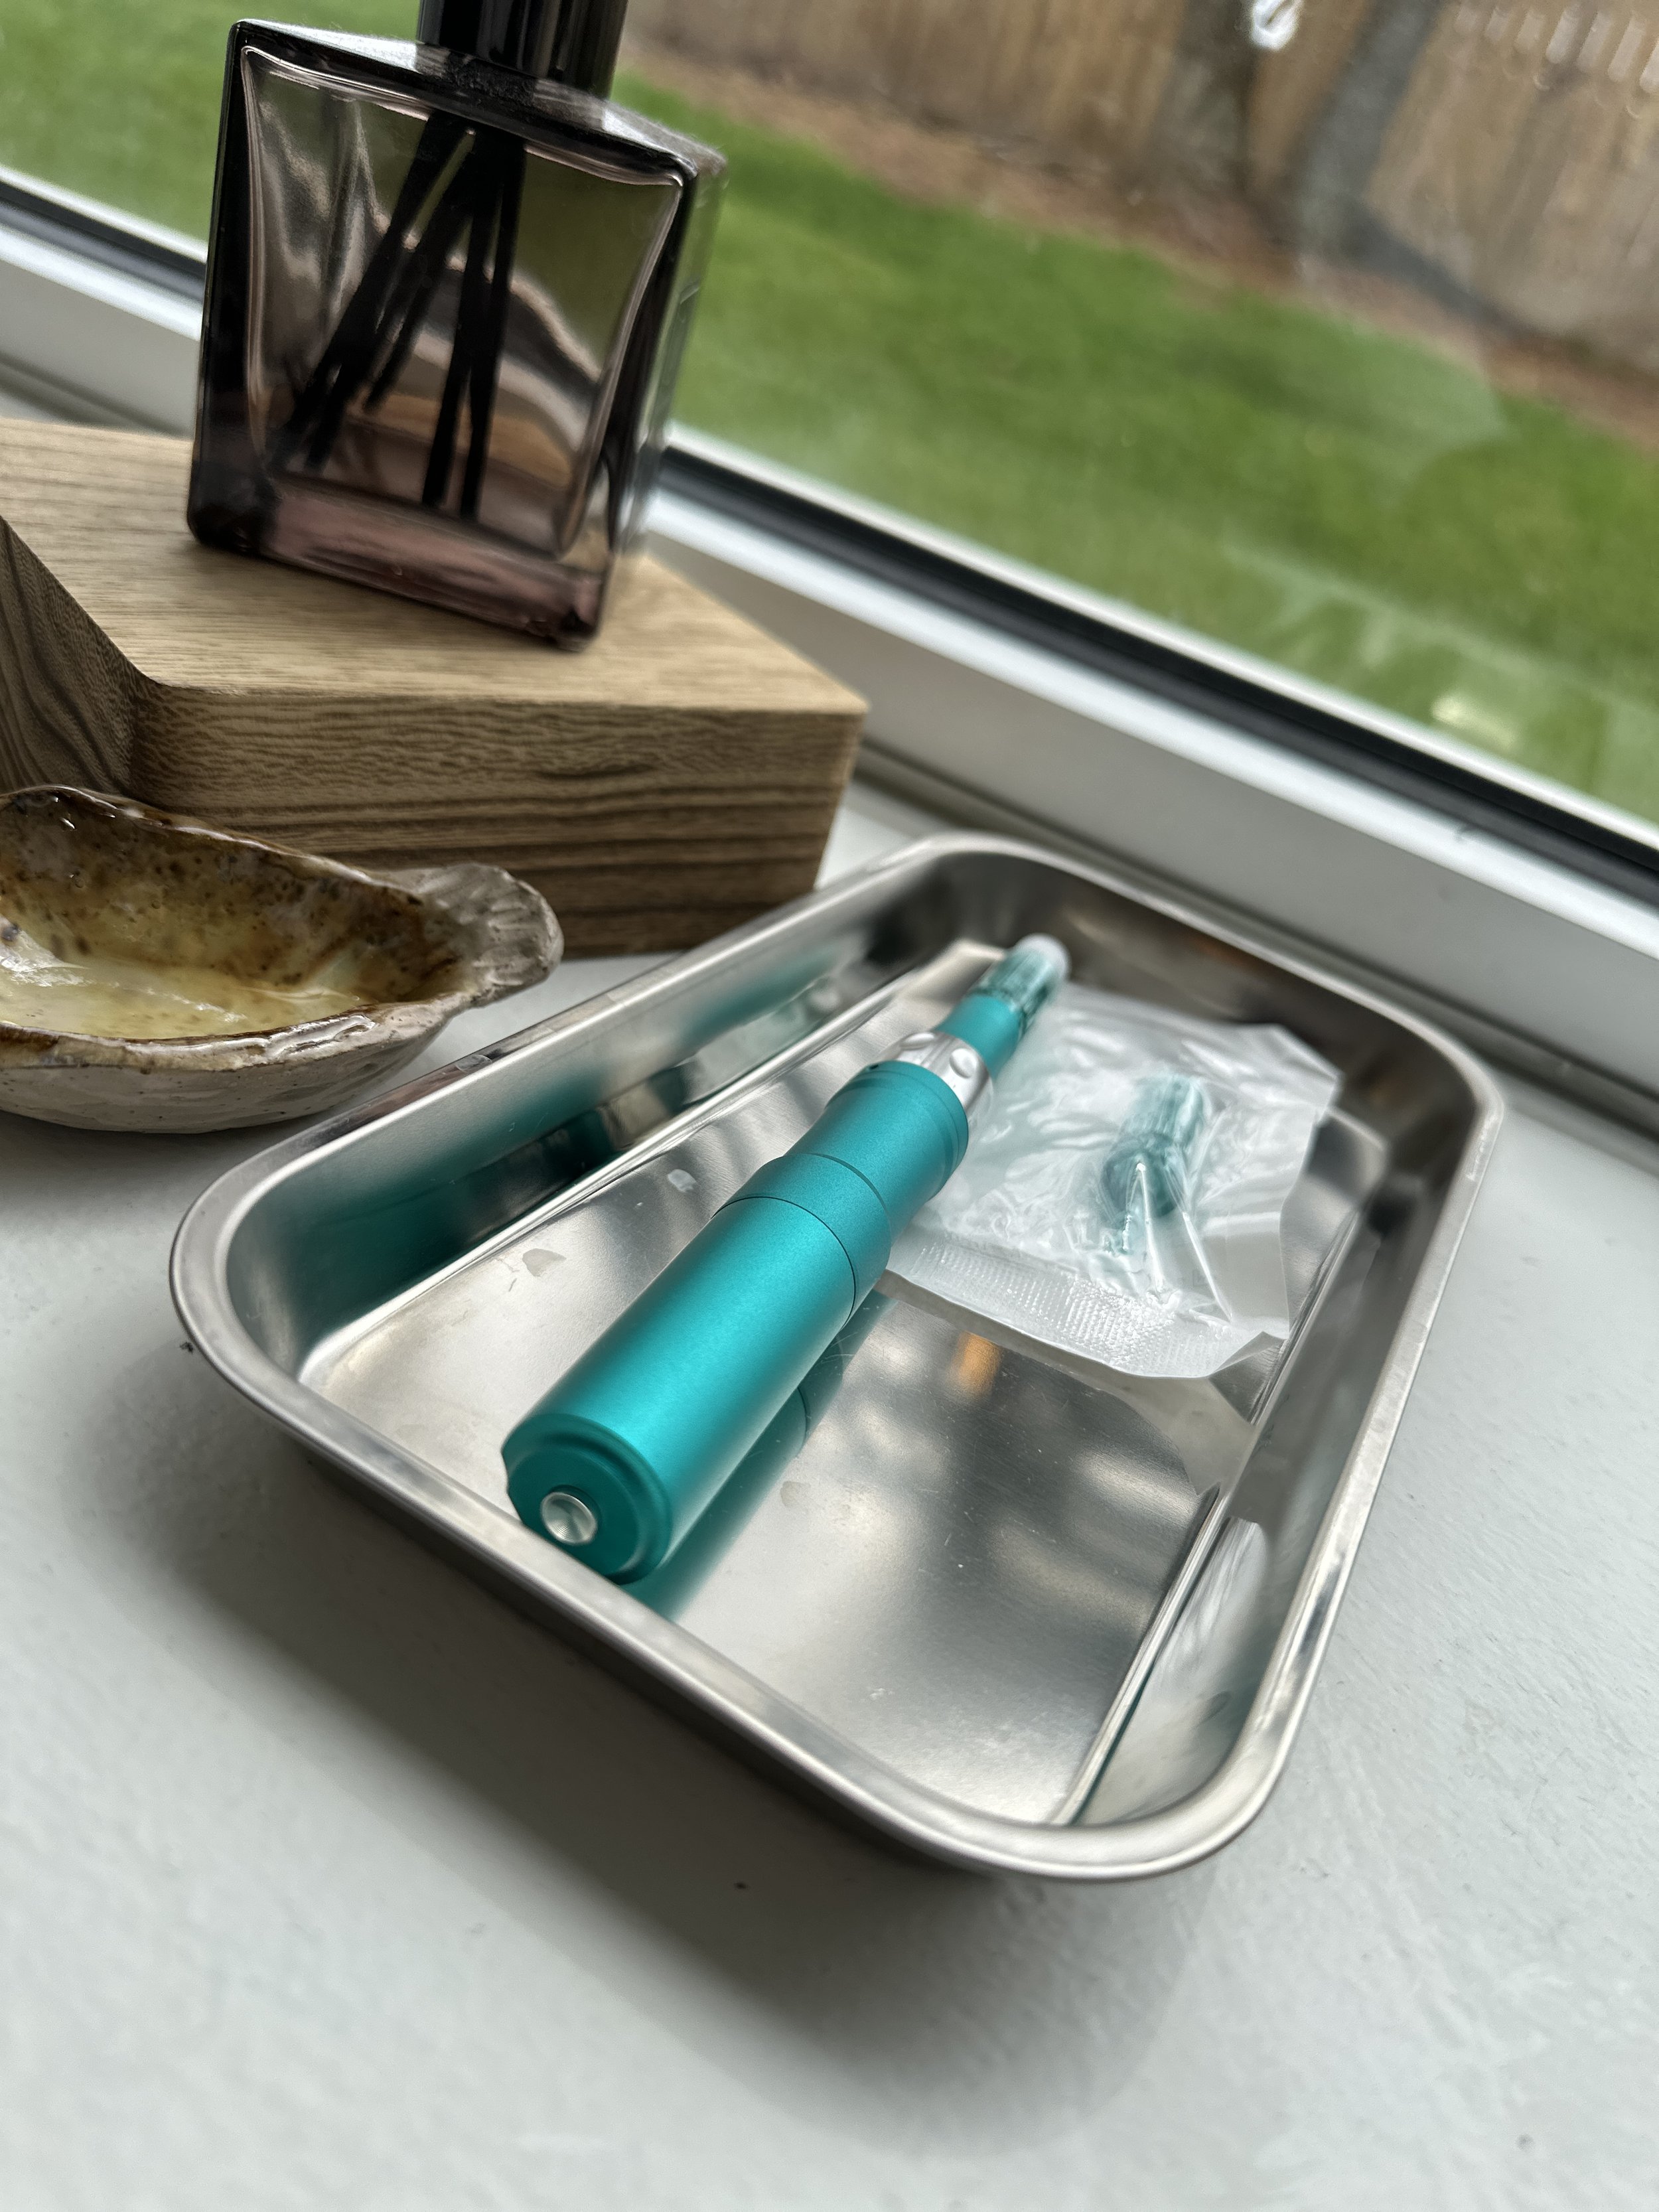
As explained in the video, here's exactly what was on my treatment tray for session 1:
Microneedling pen — the device itself, with a sterile needle cartridge
Simple saline — sterile, clean, effective for skin prep
Numbing cream — yes, we numb first. Comfort matters.
Serum — applied during the needling process so the actives can absorb deeper through those fresh micro-channels. Plus it acts a needle glide. I used Lira’s Pro-Brite Plus Serum
The Prep
I started with a double cleanse, toned, and got my skin fully prepped.
Then, in a very classic me move — I grabbed the saline before the numbing cream. No harm done, just an extra step I didn’t plan for. I course-corrected, applied the numbing cream, and let it sit for a full 20 minutes. That part isn’t negotiable. Numbing cream only works if you actually wait for it to work, and when I’m doing this on clients, I want them comfortable — genuinely comfortable, not just “okay I guess we can start.”
After 20 minutes, I removed the cream with saline, applied the serum, and started the pen.
My observations:
Action Plan:
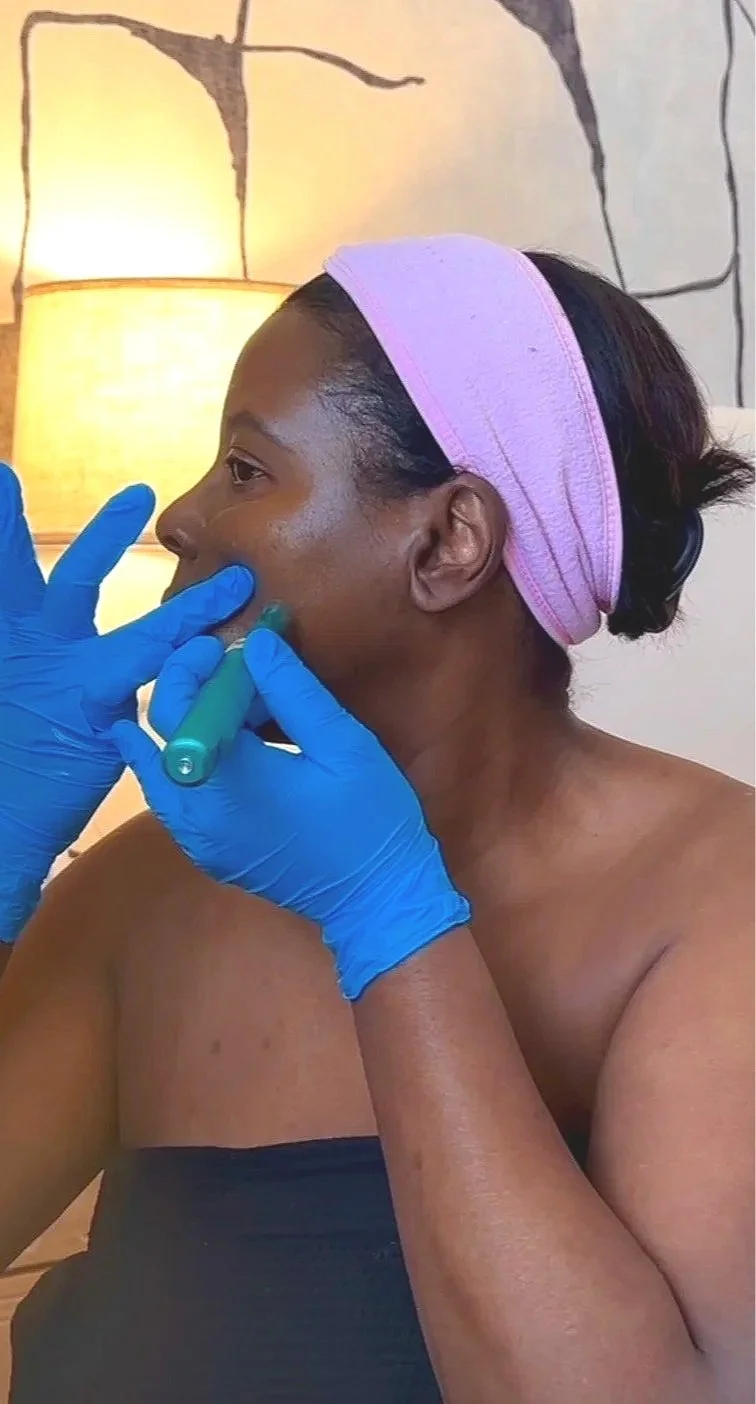
Because I numbed in sections — left cheek, right cheek, forehead, chin/jawline — I worked in that same order. Each cheek took about 7 minutes, the forehead around 5, and the chin/jawline/jowls 6–7 minutes. Time on task is intentional: I have slight hyperpigmentation on my right cheek, so I spent more time there. My jowls are a personal grievance of mine, so I gave them the attention they deserved. Total time on the table: approximately 30 minutes. Overall treatment time including facial/numbing/microneedling = 75 minutes.
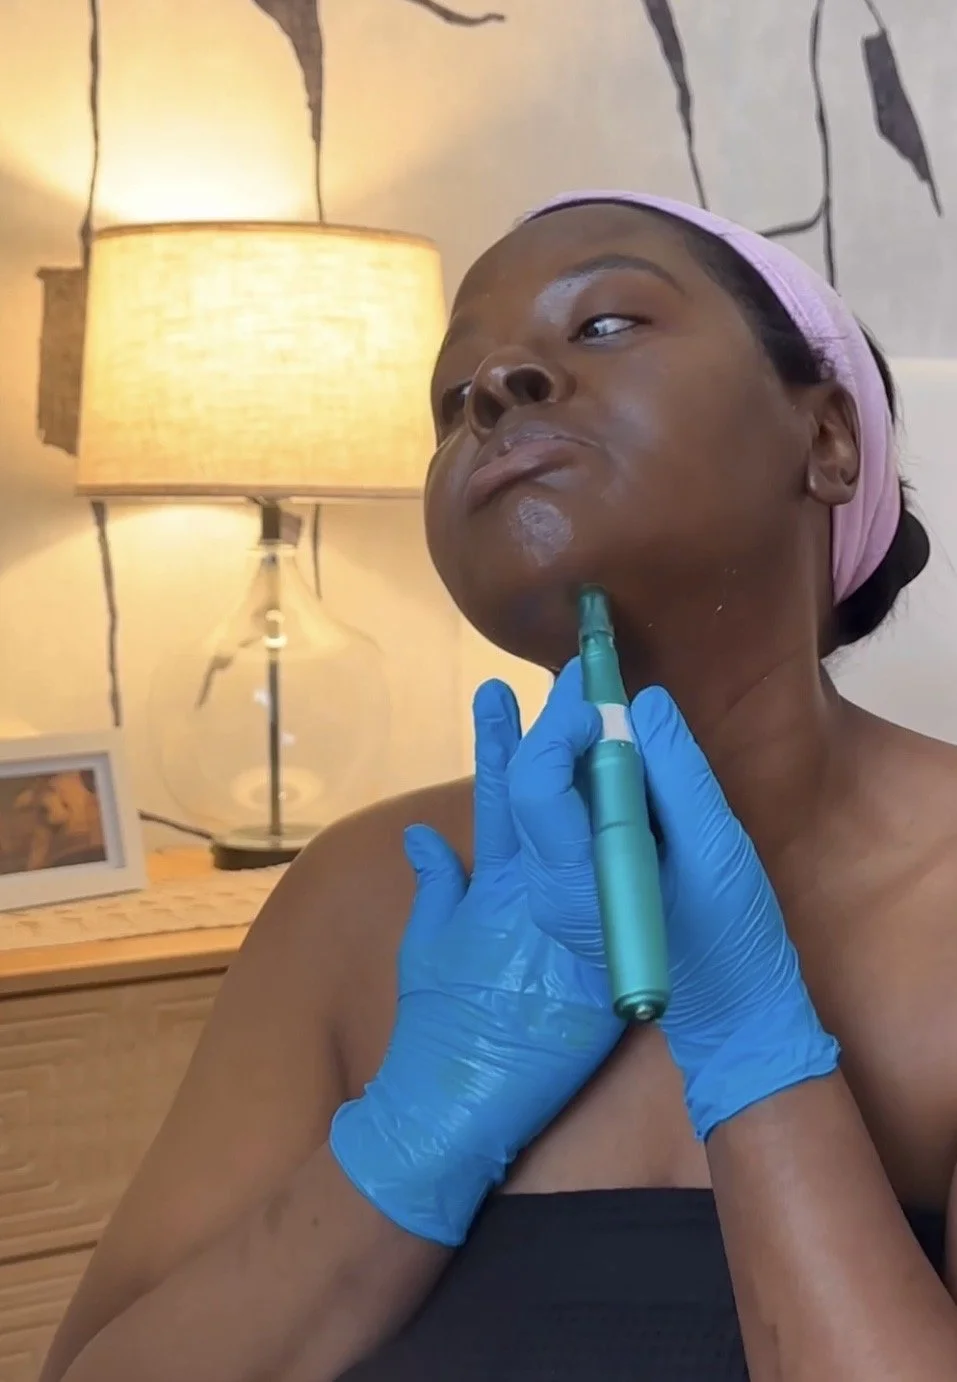
needle on cheek
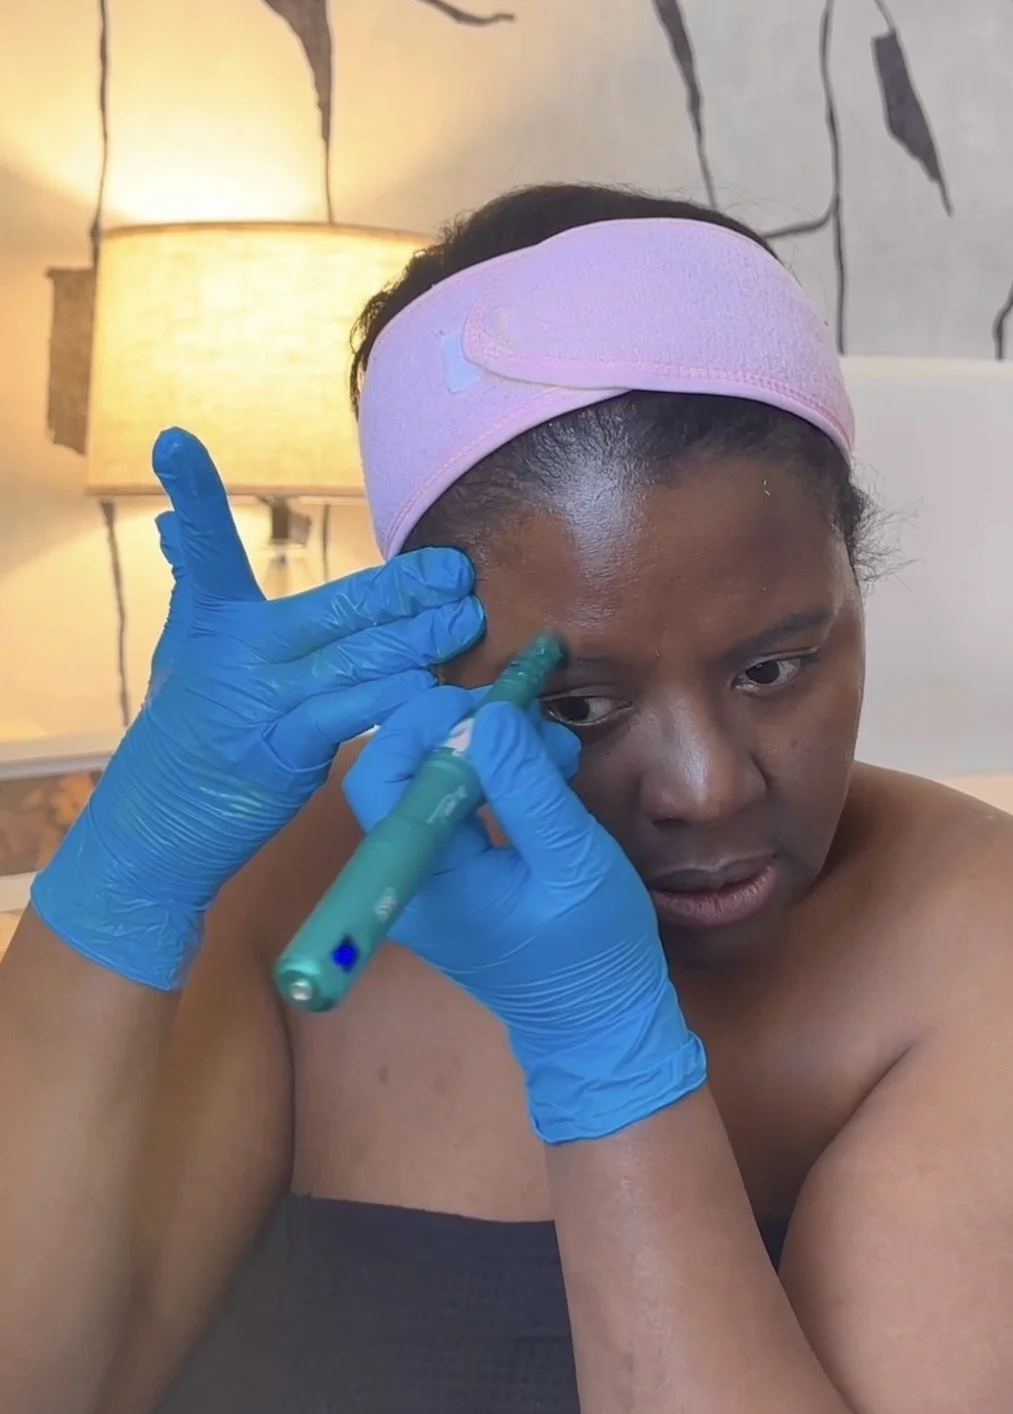
needle on forehead
needle on jawline
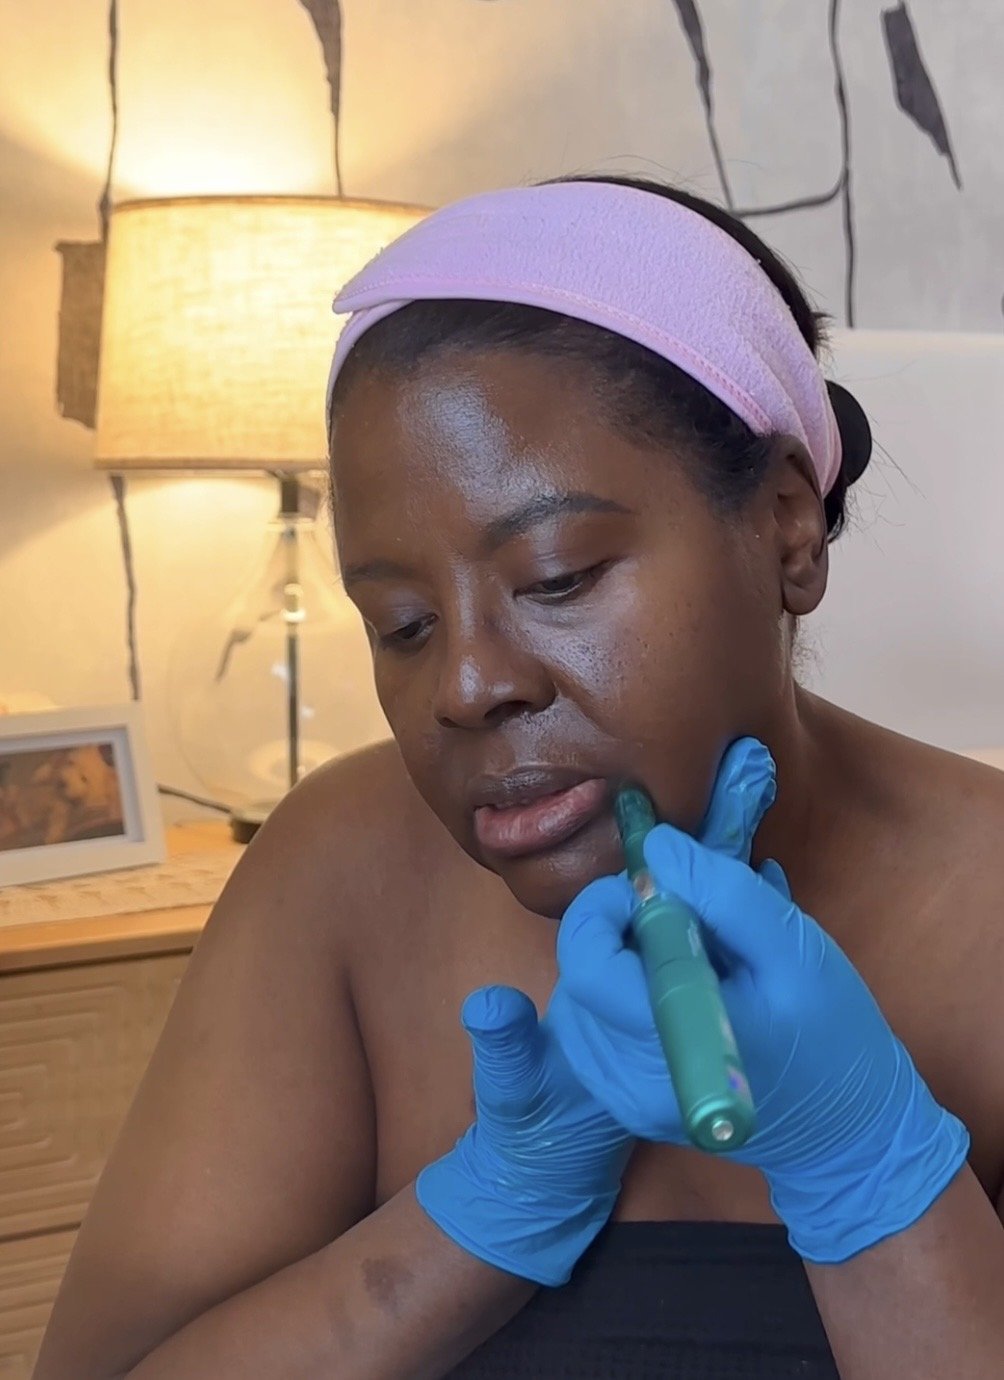
needle on jowls
Pain by Zone:
Cheeks — Most microneedling devices used in an esthetics setting have a needle range of 0.5mm to 2.25mm. That’s our full spectrum. So when I say I went in at 2.25mm on my cheeks — that’s as deep as the device goes. I wasn’t easing in. I went all the way, and I felt nothing. Fuller tissue, less sensitivity — cheeks are forgiving like that.
Forehead — A different situation entirely. I dropped down to 0.5–1.0mm and there were still sensations. Not painful, but present. You know it’s happening.
Chin and Jawline — Minimal. Less than the forehead, and the chin itself felt similar to the cheeks. The jawline had some awareness to it, but nothing that gave me pause.
So if you’re nervous about discomfort: it really does depend on the area. A good esthetician adjusts needle depth based on where we are on your face. That is not a one-size-fits-all setting situation. (Hi. 👋🏿)
Healing Process:
Immediately after: Quick note for anyone with deeper skin tone: you won’t get the lobster-red look you see all over microneedling content online. That’s a Fitzpatrick 1–3 response (those with fair to medium tones). For Fitzpatrick 4–6 (darker skin tones), the reaction is much more subtle. Some warmth, some sensitivity, nothing dramatic.
1 - 3 hours after: As the numbing wore off, I felt mild sensation in my cheeks — expected, since that’s where I went deepest. It felt like I’d used a coarse scrub and gone a little too enthusiastic about it. Familiar, manageable, done.
The next 2 - 3 days after: No pain at all. Mild peeling. *The hyperpigmentation hadn’t disappeared — and I wasn’t expecting it to. That takes time and multiple sessions. One and done is not how skin works.
*A side note on hyperpigmentation and melanated skin: This is exactly why I am a hard no on picking at your pimples. Hyperpigmentation is stubborn in a way that a pimple simply is not. The pimple will resolve. The dark mark it leaves behind? That’s a whole separate conversation — and sometimes a whole separate treatment plan. Leave it alone. Use a pimple patch. I have some good recommendations.

I did not take before photos…
I know. I KNOW. So there’s no dramatic side-by-side here. You can catch a glimpse of my skin in the videos above though — those will have to suffice for “before” photos for now.
This photo here is post-microneedling. Here's everything on my skin, in order:
2% BHA Liquid Exfoliant (Paula’s Choice)
Hydrating Moisturizer (Skin Script)
Light Aloe Moisturizer (Skin Script)
Sheer Protection SPF 30 (Skin Script)
Morphe “Jaw Drop” eye shadow (I also use this as an eye liner)
Sephora (No. 14) smooth matte lip color
That’s the whole situation. And all skincare products (except for 2% BHA Liquid Exfoliant by Paula’s Choice) is available for purchase in our online store
What I can tell you is that I have two more sessions ahead of me and I’m already a believer. One session in and I’m not reaching for filters. That says everything.
If you’ve been sitting on the fence about microneedling — the needles, the downtime, the “is this actually worth it” — I hope this gives you a real look at what it actually feels like from someone who’s been through it and done it to herself. No performance, no agenda. Just the experience.
And when you’re ready to book your own session, you know where to find me. 😊
— Jeanette